This Kodi / FireStick related error often pops up when you try to install a new addon. In my case, I tried to install a new add-on called Planet HD TV. It’s a free addon for Kodi / FireStick and it works great. Recently, however, Planet HD TV stopped working and after a bit of research, I discovered an error that stopped me from installing the addon. The error read “”Failed to Install Addon from Zip File”” In this blog post, I will try to explain a fix that will get you back on track and install the addon.
This addon has been replaced with the newest version that fixes the problem. If you have already downloaded it, we suggest that you remove it and then reinstall it.
So, you ran Kodi or set up your FireStick and then something went wrong. You click on a new addon, and nothing happens. You try to install it again, and again, and again. And now you’re in the most frustrating stage of all: you don’t know what to do next.
In this guide, you will find instructions on how to fix the error Failed to Install Addon from Zip File when installing certain Kodi builds and addons.
If you are using Kodi 18.2 to Kodi 18.9, chances are you have encountered this error when installing some addons from the zip file. I have encountered this problem mainly when installing some masters. I needed wizards to install some versions of Kodi.
So it’s safe to say that you’re more likely to encounter this problem when you try to install versions of Kodi.
Streamline Build and No Limits Build are the two builds that usually cause this error. However, I have noticed this problem in other constructions as well.
I have also noticed that this problem is more common on FireStick devices. I can install these builds on Windows and Mac without any problems, but I’m stuck with the FireStick.
Fortunately, I have a solution for you, regardless of the device on which the error occurs.
Just uninstall Kodi 18.9/18.8/18.7/18.6/18.5/18.4/18.3/18.2 and install Kodi 18.1.
It looks like a downgrade. Frankly, you don’t lose anything substantial. Kodi 18.1 works just as well as its predecessors. You can continue to use version 18.1 until a version that fixes this issue is released.
Attention KODI users: please read before continuing
Kodi addons / modules offer unlimited streaming content, but can also get you in legal trouble if you get caught watching movies / TV shows / sports for free. Kodi users are strongly advised to always connect a VPN when streaming online. A good Kodi VPN can hide your identity, bypass government surveillance, block content, and ISP throttling (which also contributes to buffer-free streaming).
I use ExpressVPN, which is the fastest and most secure VPN. It is very easy to install on any device, including the Amazon FireStick. Get 3 months free and save 49% on annual plans. There is also a 30 day money back guarantee. If you are not satisfied, you can always ask for a refund.
Click HERE to get 3 months free and save 49% on ExpressVPN.
Read: How to install and use VPN for Kodi
To fix a problem with installing an addon from a zip file
This correction will consist of three parts:
Part 1: Allow applications from unknown sources
Part 2 : Uninstalling the existing version of Kodi 18.9 – Kodi 18.2
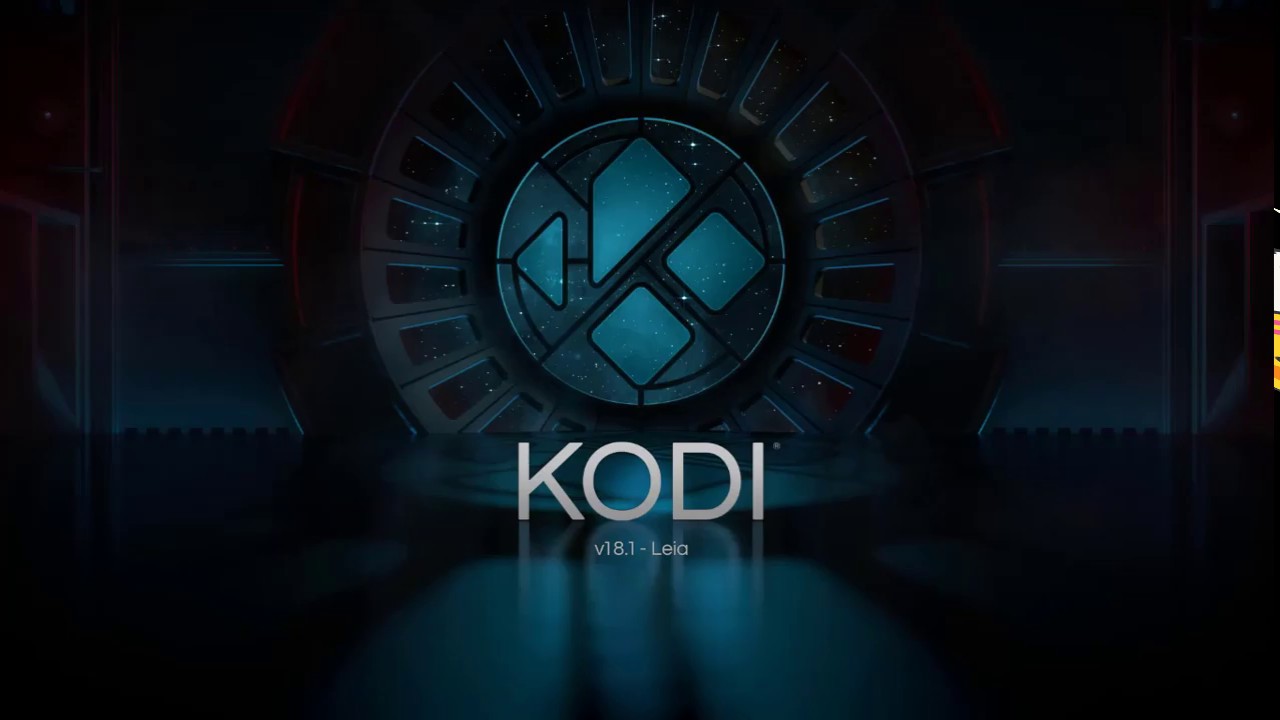
Part 3: Installing Kodi 18.1 Leia
Part 1: Release of applications from unknown source
Apps from unknown sources is a security option that must be enabled to allow the installation of Kodi 18.1 or third-party applications that are not available on the Amazon Store.
Since you have an existing version of Kodi installed, I assume applications from unknown sources should already be enabled. But let’s go through these steps again quickly, just in case:
1. Navigate to FireStick Settings in the main window.
2. Press My Fire TV.
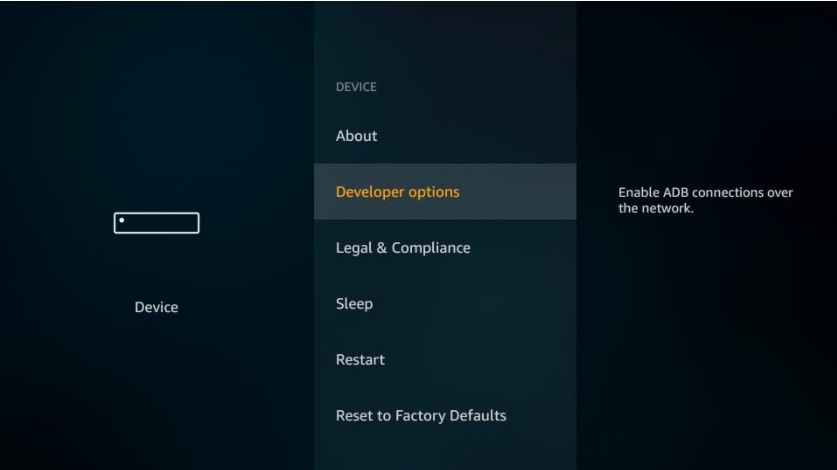
3. Open the developer preferences.
4. Do not touch applications from unknown sources unless they are disabled.
5. Click on Activate.
Part 2: Uninstalling Kodi 18.9, 18.8, 18.7, 18.6, 18.5, Kodi 18.4, Kodi 18.3, or Kodi 18.2 Leia

Kodi does not allow you to keep two copies of itself on the FireStick or any other device. Therefore, you must first remove the existing version 18.9, 18.8, 18.7, 18.6, 18.5, 18.4, 18.3 or 18.2.
Here are the steps:
1. Go to the FireStick main window and select the Your Apps & Channels line.
This is the second row from the top (after Recent).
After selecting this row, move to the leftmost row and click Show All.
Message: On the far right of the same line you will also find the option Show all.
Alternatively, you can press and hold the Home button on the FireStick for a few seconds. When the pop-up window appears, press Applications
2. Select the Kodi application using the navigation buttons on the remote
Note: Do NOT press the Kodi button. You just have to choose it.
3. Press the Menu button on the FireStick remote (it’s the button with the three horizontal lines on the left)
A pop-up menu appears in the lower right corner of the TV screen.
Press the Uninstall button
4. Confirm your intention to uninstall Kodi by clicking OK.
You have successfully removed an existing version of Kodi from your FireStick.
Alternative method to uninstall Kodi: From the FireStick’s main window, go to Settings > Applications > Manage Installed Applications > Kodi > Uninstall.
Part 3: Installing Kodi 18.1 Leia on a FireStick
Now just follow the steps below to install Kodi 18.1 on the FireStick:
1. We will use the downloader application to download 18.1
From the FireStick’s main window, select the lens icon in the upper left corner and open Search
Type Downloader
Click Downloader in the search results.
Follow the on-screen instructions to retrieve the application.
2. Start the Downloader application.
Message: If the application asks for permissions, tap Allow.
3. In the downloader window, click on the text box http://.
4. Enter the following URL: https://www.firesticktricks.com/k181
Press GO
5. Kodi 18.1 will now load. Wait!
6. Click on Install Next.
7. Wait for the installation of Kodi 18.1
That’s all!
You now have Kodi 18.1 on your FireStick. You will have no problems installing some add-ons from the zip files.
Recommended literature can be found here:
The best Kodi builds
The best Kodi addons
Before you start streaming video with Kodi addons or modules, I want to warn you that everything you stream on Kodi is visible to your ISP and the government. This means that streaming copyrighted content (free movies, TV shows, live broadcasts and sports) can lead to legal problems.
Fortunately, there is a reliable way to hide all your streaming activities from your ISP and the government. All you need is a good VPN for Kodi. A VPN masks your original IP address and helps you bypass Internet monitoring, ISP restrictions, and geographic content limitations.
Personally, I use and recommend ExpressVPN, the fastest and most secure VPN. It is compatible with all types of applications and streaming devices.
OPINION: We do not encourage copyright infringement. But what if you accidentally upload content from an illegal source? It is not always easy to distinguish between a legal and an illegal source.
So before you start streaming on Kodi, read here how to get VPN protection in 3 easy steps.
Step one: Purchase your ExpressVPN subscription HERE. It comes with a 30-day money-back guarantee. This means you can use it for free for the first 30 days. If you are not satisfied with the service (which is unlikely), you can ask for a full refund.
Step two: Click HERE to download and install the ExpressVPN application on your streaming device. If you are using a FireStick, I have included the exact steps below, starting with step 4.
Step three: Click on the power icon to connect to the VPN server. That’s it. Now your connection is secure with the fastest and best VPN for Kodi.
The steps to install Kodi VPN on Fire TV devices are described below. If you have other broadcast devices, follow steps 1 to 3 above.
Step four: Sign up for ExpressVPN HERE (if you are not already a subscriber).
Step 5: Go to the Fire TV Stick home screen. Click the Search button and then the Search option (see figure below).
Step six: Type expressvpn into the search bar and select when it appears.
Seventh step: Click on the Download button
Step 8: Open the ExpressVPN application and log in using the username and password you created when you purchased your ExpressVPN subscription.
Step 9: Click on the power icon to connect to the VPN server. That’s it. Now your FireStick is protected with the fastest VPN.
Supplement
Troubleshooting Failed installation from zip file. This solution works well for me. I’ve tried several times. But if this doesn’t work for you, feel free to let me know in the comments below. Be sure to include the exact error message in your comment.
Related:
- How to install no dependency
- How to fix buffering on Kodi
- How to fix olpair, openload pair error on Kodi
- How to check the Kodi error log
We do not check the legality or safety of any add-ons, applications or services mentioned on this website. Furthermore, we do not promote, publish or link to copyrighted feeds. We strongly condemn piracy and urge our readers to avoid it at all costs. Any mention of free streaming on our website refers only to non-copyrighted public domain content. Read our full disclaimer.
We are a reader-supported blog. If you purchase an item through the links on our website, we may receive a commission. Read more
We need your support
- Telegram