If you are looking to install Kodi on your device, then this guide is for you. This Kodi tutorial will show you how to install Maverick TV Kodi addon in 2 minutes, and you will be able to watch your favorite movies, tv shows, and live tv channels right away.
Welcome to Howl-Movie – A blog that provides quick and easy information about various topics, such as: News, How-To’s, Tech Tips, and Reviews. I will be setting up a new section in the blog. This section will be used to provide detailed information about various Kodi Addons, such as Maverick TV.
In this tutorial I will show you how to install the Maverick TV addon on Kodi 18.2 and Kodi 17.6. I took the Kodi photos on Windows, but the instructions work exactly the same for all platforms, including the FireStick (and other Fire TV devices), Mac, iOS, Android mobiles, Android TV, and others.
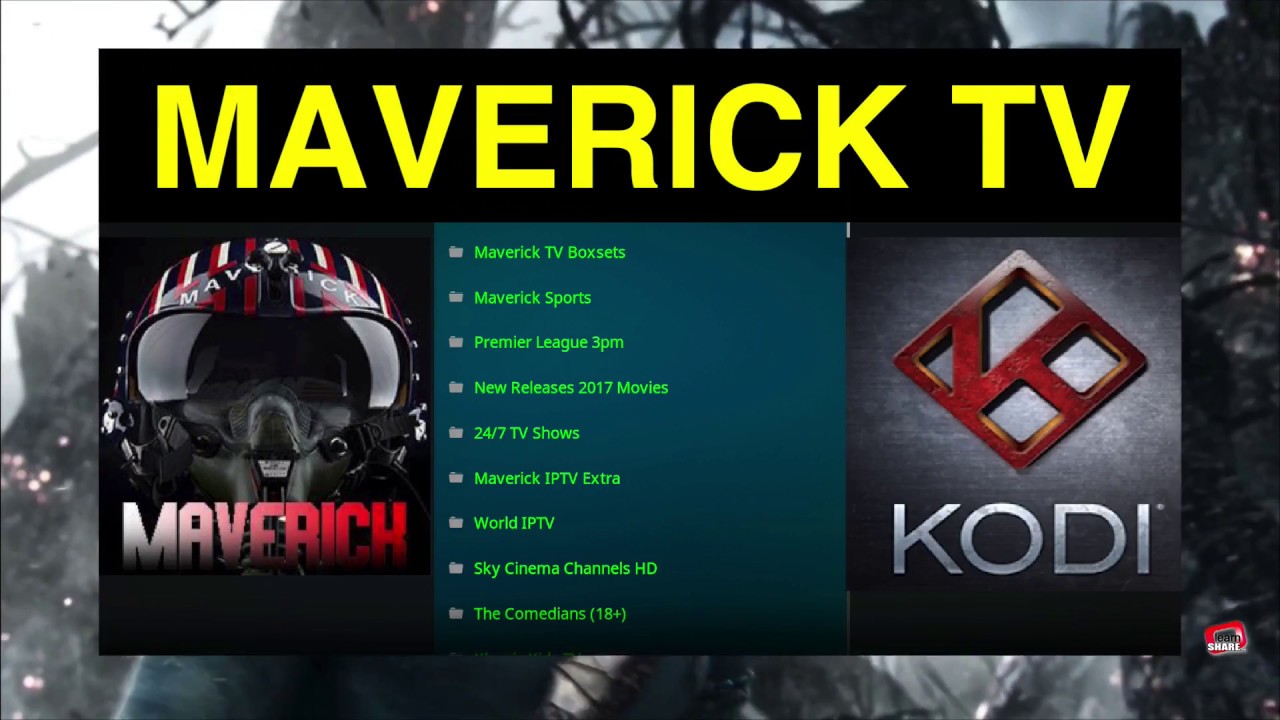
Maverick TV is a versatile codi addon that allows you to watch a wide variety of content including movies, TV shows, sports, live broadcasts, kids shows, etc. The addon is part of the popular Maverick TV repository, making it a reliable and direct source of unlimited entertainment.
The content library of the Kodi Maverick TV addon is huge. This is to be expected as it covers a wide range of content. The library is well maintained and new videos are added regularly. If you have Maverick TV, you may not even need another addon. It is also in our list of the best Kodi addons.
Update: The Maverick TV addon is currently not available because Maverick Repo is not available. Then try one of the other addons from our list of the best Kodi addons.
Attention KODI users: please read before continuing
Kodi addons / modules offer unlimited streaming content, but can also get you in legal trouble if you get caught watching movies / TV shows / sports for free. Kodi users are strongly advised to always connect a VPN when streaming online. A good Kodi VPN can hide your identity, bypass government surveillance, block content, and ISP throttling (which also contributes to buffer-free streaming).
I use ExpressVPN, which is the fastest and most secure VPN. It is very easy to install on any device, including the Amazon FireStick. Get 3 months free and save 49% on annual plans. There is also a 30 day money back guarantee. If you are not satisfied, you can always ask for a refund.
Click HERE to get 3 months free and save 49% on ExpressVPN.
Read: How to install and use VPN for Kodi
To install the Maverick TV Kodi addon
First, let’s quickly configure Kodi to be ready to install third-party add-ons like Maverick TV. We’ll only change one security parameter. Here’s what you need to do:
#1. Press the Settings button on the Kodi home screen. This is the gear icon you need to look for in the top right corner.
#2. Open the System option for Kodi 18 Leia or the System settings for Kodi 17.6 Krypton.
#3. Make sure you select the Add-ons menu item on the left side of the opened window. On the right you will see Unknown Sources. This option must be enabled if it is disabled. So turn the rocker switch to the ON position.
#4. Select Yes to continue when the next prompt appears. Maverick TV is one of the safe add-ons of Kodi. However, after installing Maverick TV, you may need to disable Unknown Sources again.
We can now proceed with the installation of the kernel.
Steps to install Maverick TV on Kodi
I will now walk you through some steps to install the Kodi Maverick TV addon. The process may seem a bit cumbersome, but it’s pretty easy to follow. Here are the steps:
#1. You want to reopen the Kodi home screen settings.
#2. In the next window, open the file manager with the following options
#3. You should now be able to see the source of the addition on the left and right. Press one of the icons to open a pop-up window.
#4. You should now see this window. Click where you see the <No> option.
#5. Use the on-screen keyboard in this window to type the following path in the appropriate field: http://mavericktv.net/mavrepo
Check the URL again to make sure it is correct
Click OK
#6. You will notice that the section Give a name for this media source is automatically populated with the name mavrepo. You can keep the default name or change it to a name of your choice. I choose the default name.
Press OK.
For the previous step, you added the source URL to Kodi. We will now install the Maverick TV repository.
#7. Go to the Kodi home screen and open the settings again, or just press the back button until you are back in the next window.
Click on Add-ons when you are here
Message: If you have Kodi 17.6 Krypton, go to Add-ons > Open Window icon at the top left of the Kodi home screen.
#8. Click on Install from Zip file
#9. Open mavrepo or any other source name you have chosen
#10. Open the zip file repository.maverickrepo-x.x.zip
Message: I replaced the version number of the zip file with x.x, because it may change later.
#11. Wait until the following message appears in the upper left corner of the Kodi screen: MaverickTV Repo is installed
You have successfully installed MaverickTV Repo. Now let’s install the Kodi MaverickTV addon.
#12. Open the option Install from memory
#13. Go to and click on MaverickTV Repo
#14. Additions to the video
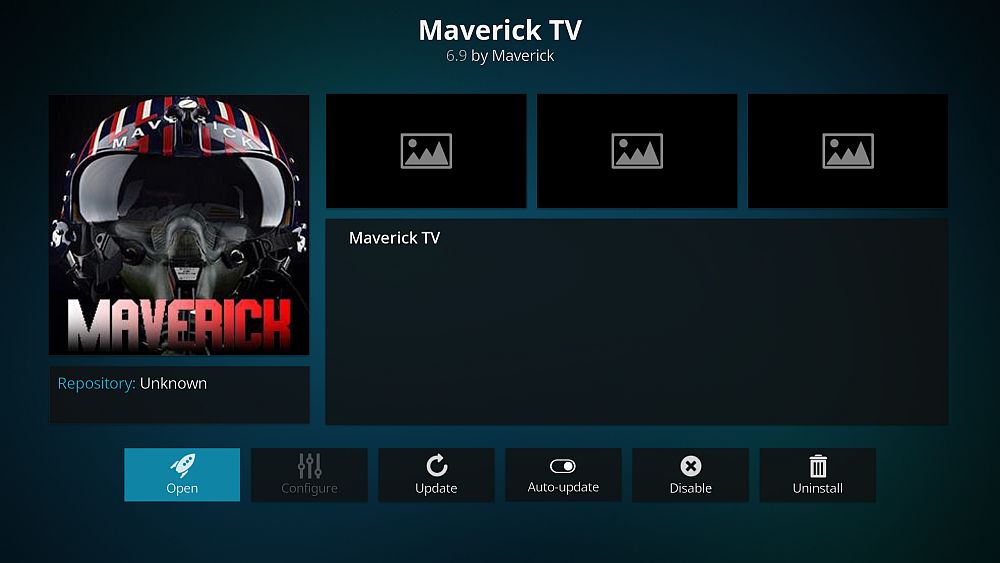
#15. Open Maverick TV plus
#16. Press the Install button
#17. You will only see the following pop-up/suggestion if you are using Kodi 18 Leia. It lists the add-ons installed with Maverick TV.
Press OK.
#18. Now wait until the Maverick TV Kodi addon is installed. You can follow the progress of the installation on the screen. The following message appears in the top right corner of the window to confirm that the installation has been completed: Maverick TV add-on installed
Here’s how to install the Maverick TV addon on Kodi.
Before you start streaming video with Kodi addons or modules, I want to warn you that everything you stream on Kodi is visible to your ISP and the government. This means that streaming copyrighted content (free movies, TV shows, live broadcasts and sports) can lead to legal problems.
Fortunately, there is a reliable way to hide all your streaming activities from your ISP and the government. All you need is a good VPN for Kodi. A VPN masks your original IP address and helps you bypass surveillance, ISPs and geographical restrictions on content.
Personally, I use and recommend ExpressVPN, the fastest and most secure VPN. It is compatible with all types of applications and streaming devices.
OPINION: We do not encourage copyright infringement. But what if you accidentally upload content from an illegal source? It is not always easy to distinguish between a legal and an illegal source.
So before you start streaming on Kodi, read here how to get VPN protection in 3 easy steps.
Step one: Purchase your ExpressVPN subscription HERE. It comes with a 30-day money-back guarantee. This means you can use it for free for the first 30 days. If you are not satisfied with the service (which is unlikely), you can ask for a full refund.
Step two: Click HERE to download and install the ExpressVPN application on your streaming device. If you are using a FireStick, I have included the exact steps below, starting with step 4.
Step three: Click on the power icon to connect to the VPN server. That’s it. Now your connection is secure with the fastest and best VPN for Kodi.
The steps to install Kodi VPN on Fire TV devices are described below. If you have other broadcast devices, follow steps 1 to 3 above.
Step four: Sign up for ExpressVPN HERE (if you are not already a subscriber).
Step 5: Go to the Fire TV Stick home screen. Click the Search button and then the Search option (see figure below).
Step six: Type expressvpn into the search bar and select when it appears.
Seventh step: Click on the Download button.
Step 8: Open the ExpressVPN application and log in using the username and password you created when you purchased your ExpressVPN subscription.
Step 9: Click on the power icon to connect to the VPN server. That’s it. Now your FireStick is protected with the fastest VPN.
Summary of the addonMaverick TV Kodi
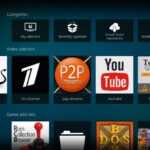
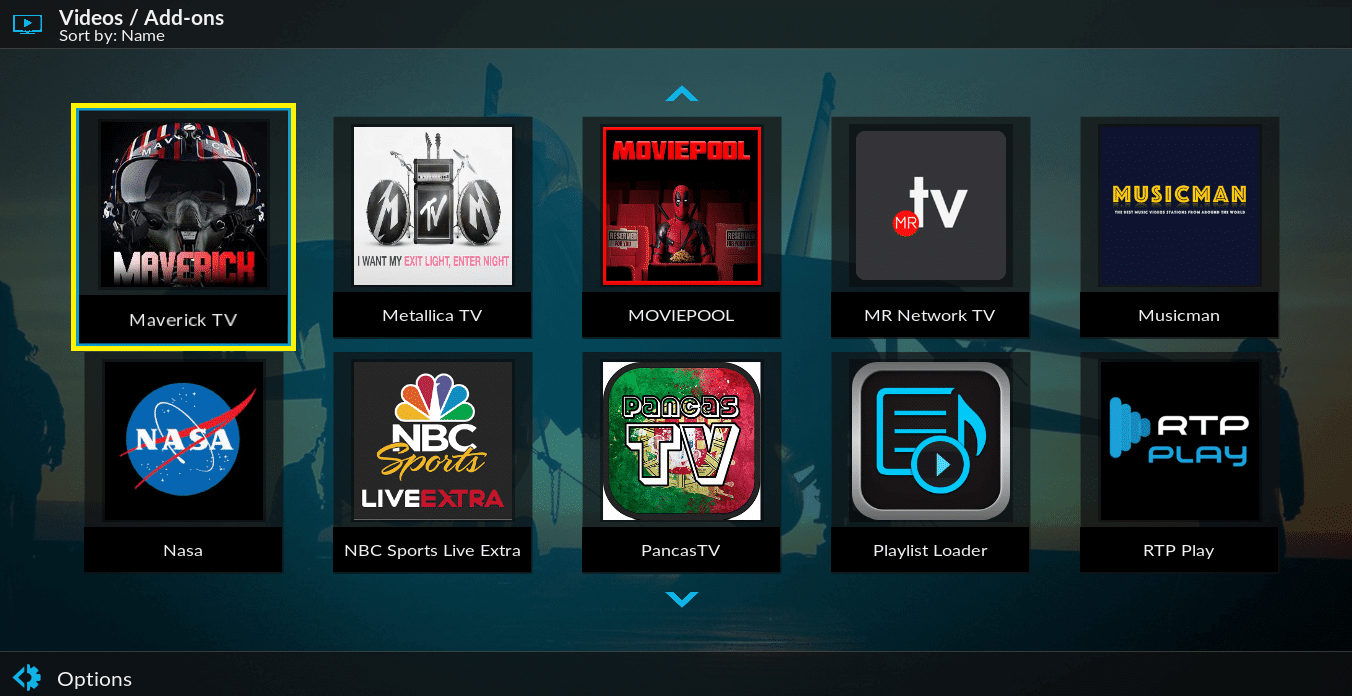
The first thing you need to do is access the Maverick TV addon. It is available in the Video Extras section, which you can access directly from the home page by selecting Extras on the left. Or you can go to Add-ons > Video Add-ons
The Maverick TV startup screen has a long list of content categories, as shown in the following two illustrations.
It is possible to watch movies, TV programs, live TV, catch-up TV, sports and children’s programs (not shown in the photos above).
Maverick TV has a large collection of free content. However, if you are looking for high quality items, you will also find many categories related to Real Debrid.
Pronunciation
Maverick TV is one of the best all-around addons I know. It’s one thing to have dozens of categories, it’s another thing to keep those categories functional. Almost everything I clicked on worked. This means that there is a lot of content to watch in the Kodi Maverick TV addon.
The addon includes categories for movies, shows, live TV, kids, sports and more. There are also special categories such as Trekkie Paradise, 250 best movies of all time, 4K UHD movies, etc. Despite the huge database of content, Maverick TV is quite fast. It allowed me to quickly navigate through the categories and also read quickly.
Personally, I think Maverick TV is one of the must-have add-ons for Kodi.
Related:
How to install the MC 1080P addon
How to install the Gen X addon
How to install the Kodi Exodus addon
How to install the Magic Dragon addon
We do not check the legality or safety of any add-ons, applications or services mentioned on this website. Furthermore, we do not promote, publish or link to copyrighted feeds. We strongly condemn piracy and urge our readers to avoid it at all costs. Any mention of free streaming on our website refers only to non-copyrighted public domain content. Read our full disclaimer.
We are a reader-supported blog. If you purchase an item through the links on our website, we may receive a commission. Read more
We need your support
- Telegram
Frequently Asked Questions
How do I install Mavericks on Kodi?
To install Mavericks on Kodi, you will need to download the Kodi .deb file from the official Kodi website. Once you have downloaded the file, you will need to install it by double-clicking on it.
How do I download Maverick TV?
Maverick TV is free to download. To download the app, search for “Maverick TV” in the Apple App Store or Google Play Store.
How do I install Mavericks repository?
To install the Mavericks repository, you can use the following command in Terminal: sudo dpkg -i /usr/share/doc/xcode-dev/xcode-select.plist To install the Mavericks repository, you can use the following command in Terminal: sudo dpkg -i /usr/share/doc/xcode-dev/xcode-select.plist To install the Mavericks repository, you can use the following command in